> For the complete documentation index, see [llms.txt](https://docs.archisketch.com/llms.txt). Markdown versions of documentation pages are available by appending `.md` to page URLs; this page is available as [Markdown](https://docs.archisketch.com/guide/intro-en/update-note/2026/202604.md).
# April 2026 Updates
This April, working with drawings in the editor has become even more convenient.
Especially **the floor (layer) management feature has been significantly revamped**so that,
the settings you often adjust during the design process can now be handled quickly in one place.
***
The biggest change is that the existing floor management page has been split into **Floor Management**and **Resource Management**, two separate pages.
**Before the change**On the previous page, floor height settings, floor addition/creation, and checking the spaces and items included in each floor were all gathered on a single page.

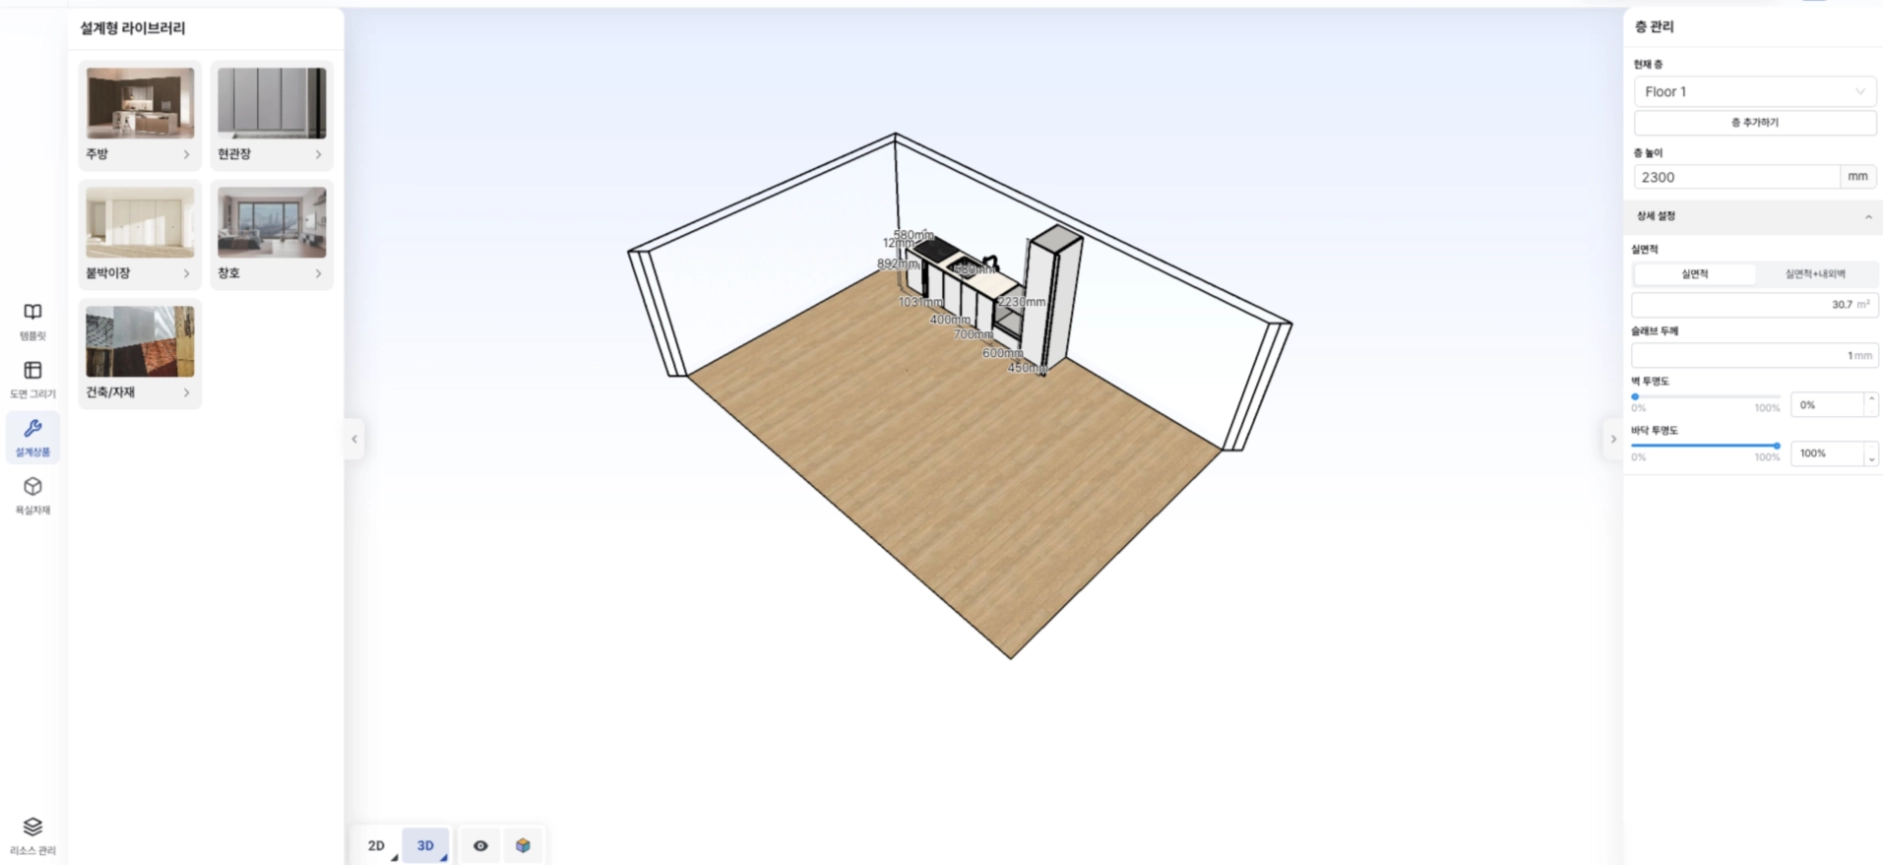
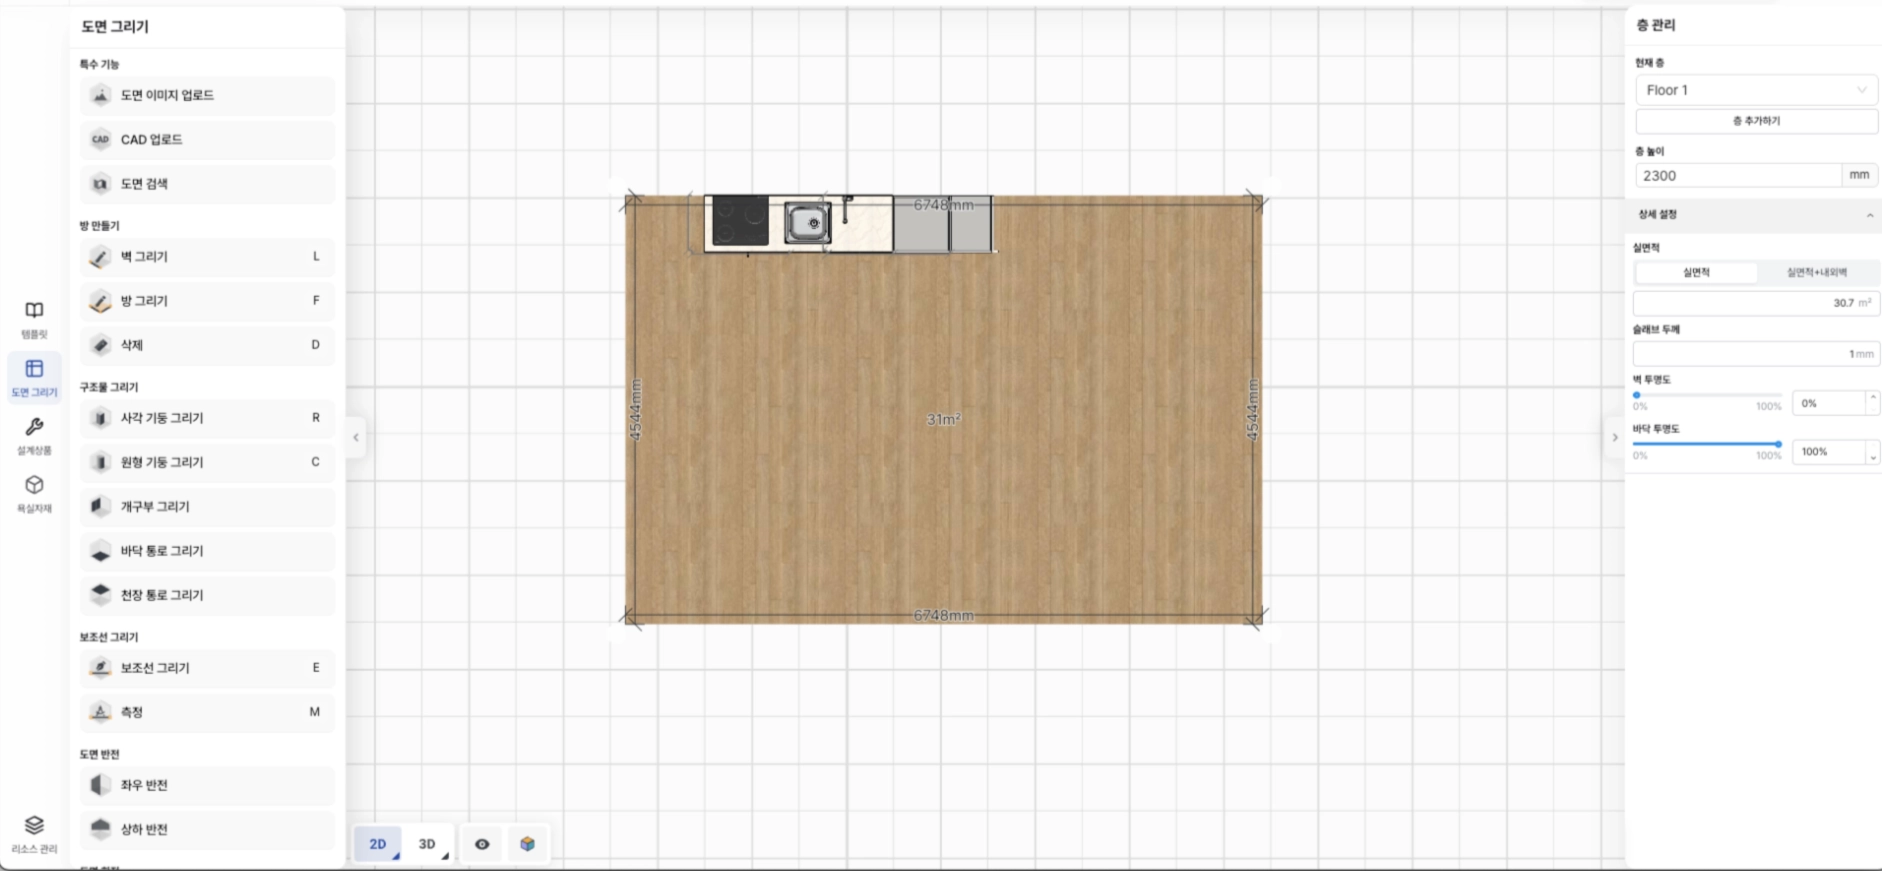
**After the change**, on the Floor Management page, you can quickly adjust not only floor height but also detailed settings such as usable area, slab thickness, and wall/floor transparency, and this panel is always visible on the right so your workflow isn't interrupted.

The Resource Management page has been separated into a dedicated screen where you can view the spaces and items included in each floor overall.

***
In the Floor Management panel, **Net area**and **Net area + area including interior/exterior walls** you can check information right away and even directly edit the overall floor size.

However, please note that if you change the overall floor size, the wall, floor, and ceiling finishes edited in the finish editor will be reset to their default values,
and the ceiling structures created in the ceiling editor will be deleted.
When this is changed, a notice message like the one below will appear.

***
**Slab thickness** can also be set in the same Floor Management panel. When you change the input value, it is immediately reflected across the entire floor.
Slab thickness 1

Slab thickness 1000

**Wall and floor transparency**can now also be adjusted individually.
You can check it in both 2D and 3D, making it useful for drawing review or presentations.
Wall transparency 0 (2D)

Wall transparency 0 (3D)
Floor transparency 0 (2D)
Floor transparency 0 (3D)

***
There are changes in Render Studio as well.
**Hide interior/exterior walls option**has been newly added, so wall transparency (culling) settings are directly reflected in the rendering results.
You can render in various combinations, such as making walls transparent, hiding only interior walls, or hiding only exterior walls.
Wall transparency render

Exterior wall hide render

Interior wall hide render (+ wall transparency)

Hide both interior and exterior walls

***
**The Specification Editor**now includes ceiling content.
A full ceiling drawing of the designed plan is automatically generated, allowing you to see the placement of ceiling items at a glance.

***
There is also good news for those working in 3D mode.
Previously only possible in 2D mode **Copy Linear Arrangement**is now supported in 3D mode as well.
Before — available only in 2D mode

After — also available in 3D mode


***
It has also become more convenient when handling multiple items at once.
**The Group Properties feature**has been added, so after selecting multiple items, you can set angle, position, height, and more all at once.

***
Lastly **the Parametric Editor**has also been improved. You can now copy and paste models, parametric component items, and entire items, and it works properly across different browsers (e.g., Chrome ↔ Edge).
***
> **Source**: \[2026.04.23] Editor feature overhaul, \[2026.04.30] Editor feature overhaul
---
# Agent Instructions
This documentation is published with GitBook. GitBook is the documentation platform designed so that both humans and AI agents can read, navigate, and reason over technical content effectively. Learn more at gitbook.com.
## Querying This Documentation
If you need additional information that is not directly available in this page, you can query the documentation by asking a question.
Perform an HTTP GET request on the following URL with the `ask` and `goal` query parameters:
```
GET https://docs.archisketch.com/guide/intro-en/update-note/2026/202604.md?ask=&goal=
```
`ask` is the immediate question: it should be specific, self-contained, and written in natural language.
`goal` is what the user is ultimately trying to achieve, the reason they need the answer. Sharing it helps GitBook give you a better, more relevant answer. A goal is most helpful when it describes the outcome the user wants rather than restating the question. For example, with `ask=how do I create an API token`, a goal like `automate deployments from our CI pipeline` lets GitBook tailor the answer to that use case.
The response will contain a direct answer to the question and relevant excerpts and sources from the documentation.
Use this mechanism when the answer is not explicitly present in the current page, you need clarification or additional context, or you want to retrieve related documentation sections.